Monday, June 4, 2012

Making Pins

Both the angle adjustment mechanism and the height adjustment mechanism have brass pins.  Starting with 3/8" brass rod, I cut to length the rods and filed the ends square.

Then I chucked them into my drill press, (with the drill running at a low rpm) sanded them up to 400 grit, and cut a chamfer on the bottom edge.

Using the edge of a small triangular file I cut notches, finishing with the edge of a flat file (I think the 90 degree angle looks better than the 60 degree).

I then polished the rod by holding my buffing wheel up to it (with the drill on).  They turned out pretty well.  Not bad for not having a lathe!


Final Post

The title of this post may be slightly misleading, as I still have some posts that I want to share, but I want to take this opportunity to reflect back on my project. The biggest success in my project was how the stand came out.  I am extremely pleased with it, and feel really good about presenting it on Monday.  Throughout this project, I have learned a lot about time management.  I wish that I could have done more in the beginning of my project, as I have found that in the past few weeks I have been scrambling to complete my project on time.  I would have liked to be done with the building by now, so I could focus on the magazine article, but that didn't happen, and I still have to complete the woodworking.  Overall I am very glad that I decided to do the WISE program, it has been a wonderful experience.

Sunday, June 3, 2012

Stand Lip

Gluing the walnut lip to the stand:
 After the glue is dry I will plane the cherry flush with the walnut. 
With this done the only remaining things to do on the stand are screwing the stand on to the post, finishing the stand, drilling the holes for the adjustment mechanism, and making the pin for the height adjustment mechanism.  So close!

Thursday, May 31, 2012

Pre-finishing

To simplify the finishing process, I am doing a lot of pre-finishing , which is applying the finish before the project is completely assembled.  The finish I used was a 50/50 blend of mineral spirits and varnish.  The mineral spirits is just a thinner that allows me to wipe on the varnish easily, which is my favorite application method.  I put about 3 coats on.  With the finishing out of the way, I glued the column into the base.


Close up of the large chamfer at the top of the column:
Now all that I have to do is glue on the lip to the stand, and attach it to the angle adjustment bracket.

Monday, May 28, 2012

Stand Pivot

 I was finally able to get the adjustment mechanism done:

 Using the pattern to rough cut the brackets out on the bandsaw.

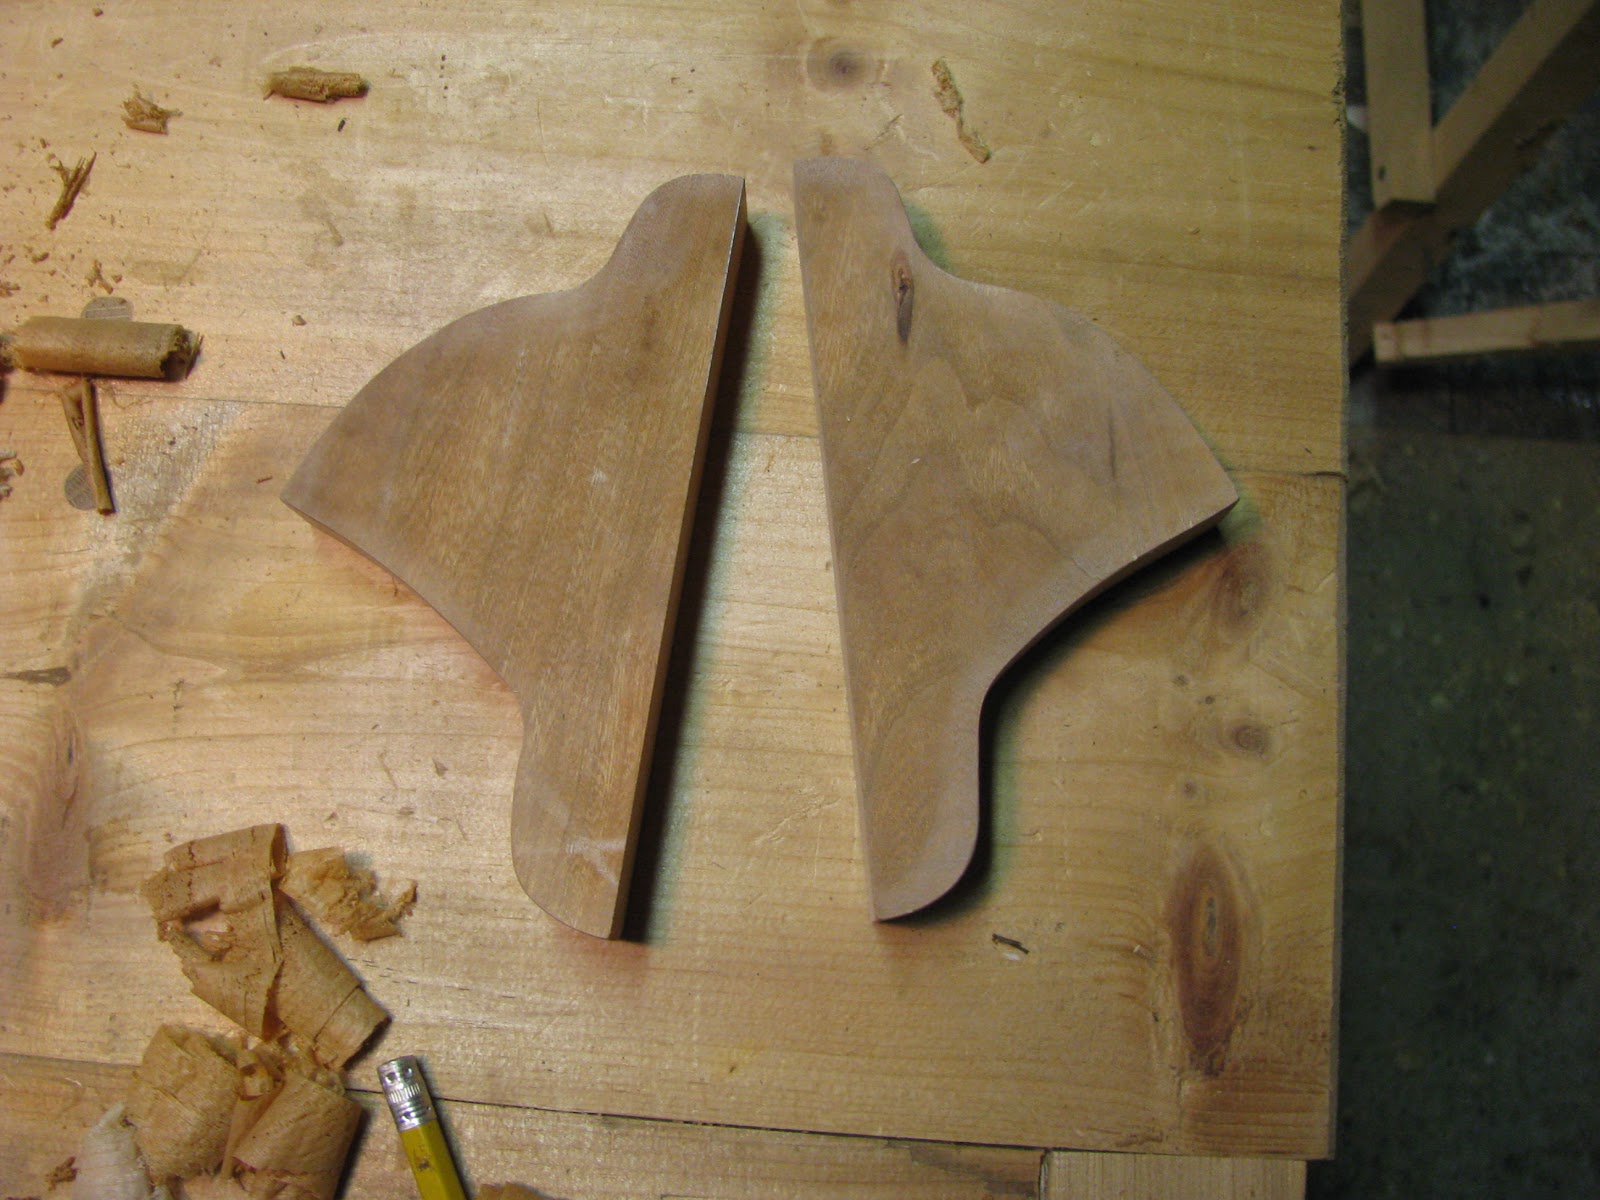
 Using one of the brackets as a pattern for the other.
 Double stick tape keeps the brackets together while drilling the holes.


 Rough cutting the top of the post, I used a float and my block plane to refine the curve, finishing up with sandpaper.

How it works:

 Later I swapped the lower peg for a 3/8" one.
 For the pivot, I put it into the drill press and sanded it while it was rotating, creating a nice looking circular pattern on the end.  Using a file (with the drill running) I also beveled the edges.


 After epoxying the pin into the post, I pinned it with 1/8" brass pin-stock to ensure that it will never fall out, even if the epoxy weakens.
Sanded flush.

Saturday, May 26, 2012

Stand Pivot Design

In order to finalize the design of the pivot I had to first determine what angles I wanted the stand to be able to adjust to.  I used a protractor on my own music stand, and determined that one of the positions should be about 20 degrees.  The other position should be about 70 degrees for playing above the stand.  To design the pivot bracket, I needed to make up a full-size template so I can be sure that the bracket will accommodate the locking pin at the right angle, while also being robust enough.  To do this I used sketch-up to print out a full sized template, which I learned to do from this blog article: Printing to Scale in Sketch-up.  Then I drew the bracket outline on the printout.  Next I will begin the shaping of the bracket.

Zeh, Joe. "Printing to Scale in Sketch-up." Web log post. Chiefwoodworker's Blog. 10 Nov. 2008. Web. 23 May 2012. <http://www.srww.com/blog/?p=117&cpage=1>.


I also did some much needed shop clean-up.
Before:
 After:

Friday, May 25, 2012

Presentation Plans

  • Present project idea, reason for building stand.
  • Talk about my design, the aesthetic (influences), and the functional aspects
  • Talk about some challenges I had in building the stand (new techniques, finishing)
  • Present a selection of tools that I used in my project as well as some wood samples
  • Talk about my research into woodworking as a business (costs, ways to sell work, how to have a larger profit margin)
  • Talk about how my tools affect my working style/speed
  • Talk about my magazine article and present my process for writing it