Thursday, May 31, 2012

Pre-finishing

To simplify the finishing process, I am doing a lot of pre-finishing , which is applying the finish before the project is completely assembled.  The finish I used was a 50/50 blend of mineral spirits and varnish.  The mineral spirits is just a thinner that allows me to wipe on the varnish easily, which is my favorite application method.  I put about 3 coats on.  With the finishing out of the way, I glued the column into the base.


Close up of the large chamfer at the top of the column:
Now all that I have to do is glue on the lip to the stand, and attach it to the angle adjustment bracket.

Monday, May 28, 2012

Stand Pivot

 I was finally able to get the adjustment mechanism done:

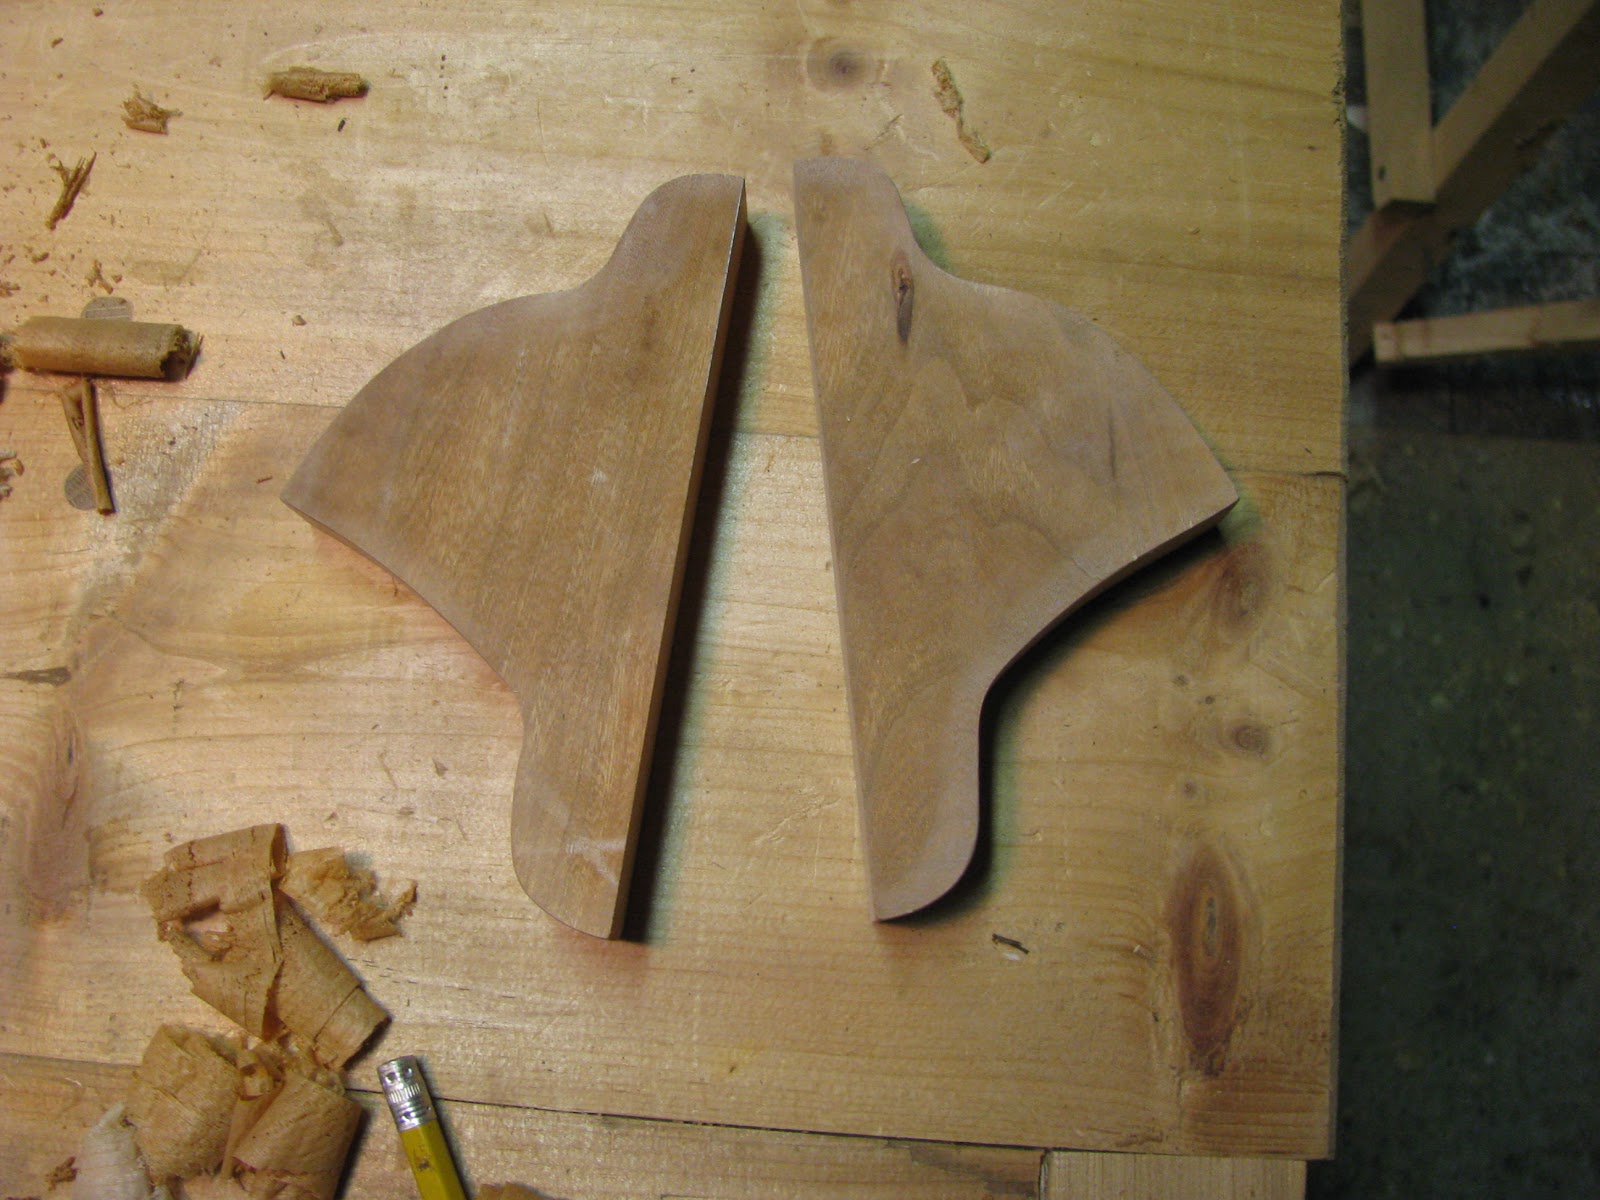
 Using the pattern to rough cut the brackets out on the bandsaw.

 Using one of the brackets as a pattern for the other.
 Double stick tape keeps the brackets together while drilling the holes.


 Rough cutting the top of the post, I used a float and my block plane to refine the curve, finishing up with sandpaper.

How it works:

 Later I swapped the lower peg for a 3/8" one.
 For the pivot, I put it into the drill press and sanded it while it was rotating, creating a nice looking circular pattern on the end.  Using a file (with the drill running) I also beveled the edges.


 After epoxying the pin into the post, I pinned it with 1/8" brass pin-stock to ensure that it will never fall out, even if the epoxy weakens.
Sanded flush.

Saturday, May 26, 2012

Stand Pivot Design

In order to finalize the design of the pivot I had to first determine what angles I wanted the stand to be able to adjust to.  I used a protractor on my own music stand, and determined that one of the positions should be about 20 degrees.  The other position should be about 70 degrees for playing above the stand.  To design the pivot bracket, I needed to make up a full-size template so I can be sure that the bracket will accommodate the locking pin at the right angle, while also being robust enough.  To do this I used sketch-up to print out a full sized template, which I learned to do from this blog article: Printing to Scale in Sketch-up.  Then I drew the bracket outline on the printout.  Next I will begin the shaping of the bracket.

Zeh, Joe. "Printing to Scale in Sketch-up." Web log post. Chiefwoodworker's Blog. 10 Nov. 2008. Web. 23 May 2012. <http://www.srww.com/blog/?p=117&cpage=1>.


I also did some much needed shop clean-up.
Before:
 After:

Friday, May 25, 2012

Presentation Plans

  • Present project idea, reason for building stand.
  • Talk about my design, the aesthetic (influences), and the functional aspects
  • Talk about some challenges I had in building the stand (new techniques, finishing)
  • Present a selection of tools that I used in my project as well as some wood samples
  • Talk about my research into woodworking as a business (costs, ways to sell work, how to have a larger profit margin)
  • Talk about how my tools affect my working style/speed
  • Talk about my magazine article and present my process for writing it

Thursday, May 24, 2012

Sample Presentation

In the sample presentation last night (which was very good), I was unsurprised that the full time was not taken for her speaking section.  Even with Katherine's speaking skills it was hard for her to take up the entire time.  This is because a half hour of talking is a very hard for anyone to take up.  For my presentation I will have to carefully plan out my presentation time, so it is organized, and so it fills up the entire time.  To do this I plan on bringing lots of visual aids (tools and wood), and will go into detail on some of the techniques.

Wednesday, May 23, 2012

Some Reflection

Recently I have been looking back on the earlier parts of my journal, to see how I can improve my journal.  In the beginning of my project, my journal was not so great.  Mostly this was because I was not really doing anything on my project, so I did not know what I should journal about.  My mentor was super helpful about this, she helped me by making sure I knew exactly what I was supposed to be doing for my journal.  It is still hard for me to write about topics outside my hands-on work, but looking at my more recent posts, I am very pleased about how my journal currently is. 

Tuesday, May 22, 2012

Magazine Article Research

For my magazine article I will be writing, I need to do some research on the general layout of a typical woodworking article.  To do this I browsed through a couple of Popular Woodworking Magazines, the most recent edition and the April 2012 edition, focusing on the feature article "Irish Chair" by Don Weber and the  cover article, "Cherry Wall Cabinet" by Matthew Teague.  Both share a similar layout and structure that I will use to guide my writing of my own article.  As both of these project articles are about fairly unusual projects and techniques, they focus on the unusual aspects, instead of going over every single aspect of the build.  This saves the reader from having to re-read information on basic woodworking techniques, so for my article I will focus on the aspect of this build that are unique to my project, such as the adjustment system, both height and angle.  I will briefly cover my methods of making the adjustment mechanism, and will also cover my influences for the design, and wood selection, as well as the finish I end up using.


Teague, Matthew. "Cherry Wall Cabinet." Popular Woodworking Magazine Apr. 2012. Print.

Weber, Don. "Irish Chair." Popular Woodworking Magazine June 2012. Print.